
This ankle dorsiflexion test is a simple, telling way to see if tightness in your Achilles tendon and/or calf muscles holds you back in training. If you want springier jumps/sprints, or softer/safer landings, quality ankle DF is a top priority (both passive & active ROM).
A lack of ankle DF often results in problems squatting deep. Poor ankle DF also makes it harder to minimize impact when landing/falling. If you find that you have significantly asymmetrical mobility in your ankles due to old injuries/imbalances, beware of it leading to more injuries as well. If your ankles don’t work well, the next parts up the chain (knees, hips, back, etc) may compensate, and gradually deteriorate as well.
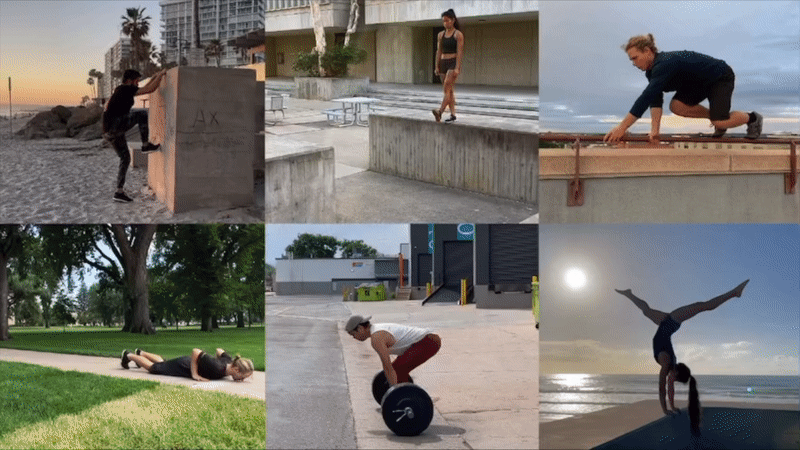
Similarly, poor ankle DF can sabotage power and control in your jumps/sprints/strides. Poor ROM will force you to alter mechanics, resulting in undesirable changes to posture/rhythm/etc. It doesn’t matter how much force you can produce if you do it at the wrong time and/or in the wrong position. Good ankle mobility helps you maximize speed & power gains thanks to using more optimal movement mechanics.
ft. Damian ZumTobel
📍 Apex Denver / Remote 2021
Why test your ankle dorsiflexion?
- to assess your current level of ankle dorsiflexion
- to determine if ankle mobility is a weak link in squatting, dropping, landing, jumping, sprinting, etc.
- to occasionally retest your ankle dorsiflexion to see if your training is working 😉
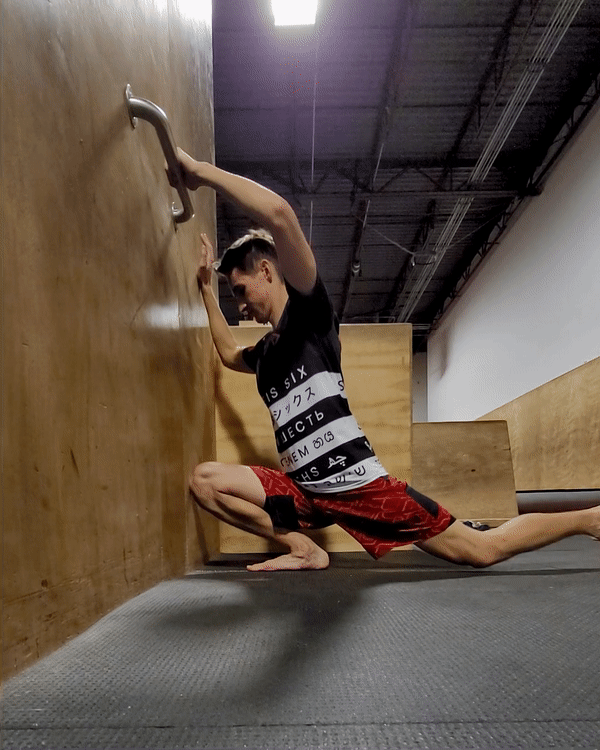
ft. Bryan Riggins
📍 Seattle, Washington / Apex Remote 2020
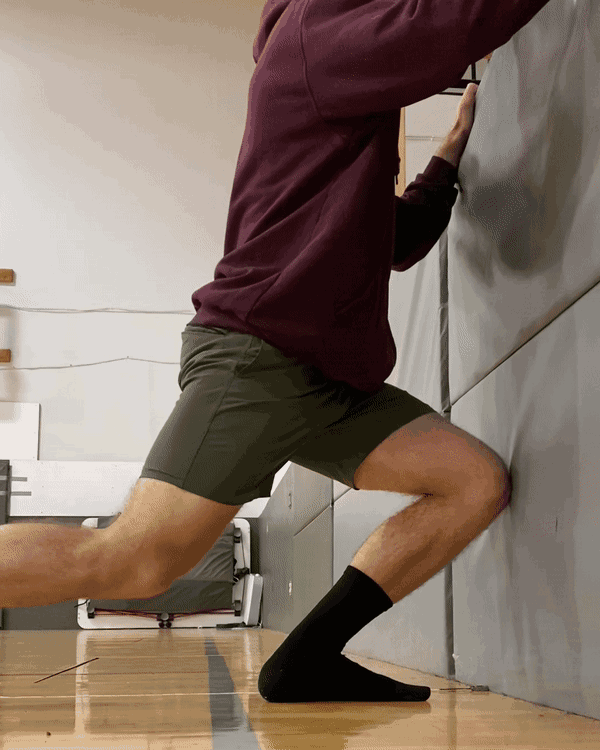
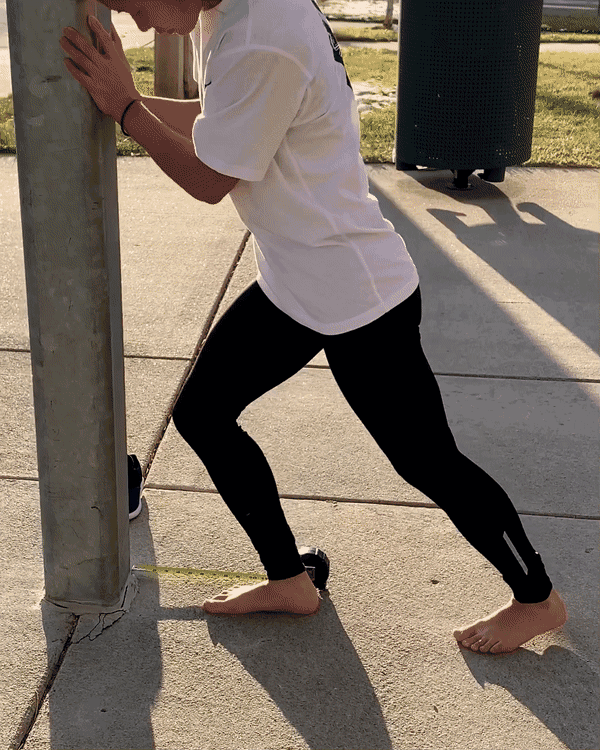
How to test?
- Get a tape measure and go find a vertical wall + flat ground. For the most accurate results, go barefoot.
- Lunge facing the wall with your front leg toes pointing straight at the wall and your back leg/foot off the ground.
- Try to touch and hold your front knee to the wall without letting your heel come off the ground. If it helps stretch deeper, shift most or all of your weight to the front leg. Go fully onto 1 leg or if you prefer, keep a bit of weight on your back leg for balance.
- If you were successful in the previous step, move your toes a bit farther away from the wall and repeat the test.
- When you can no longer touch and hold your knee to the wall with flat feet, record your last successful distance as your score for that foot.
- Switch feet & repeat.
Levels
- L1: 0-2” / 0-5 cm
- L2: 2-4” / 5-10 cm
- L3: 4-6” / 10-15 cm
- L4: over 6” / 15+ cm
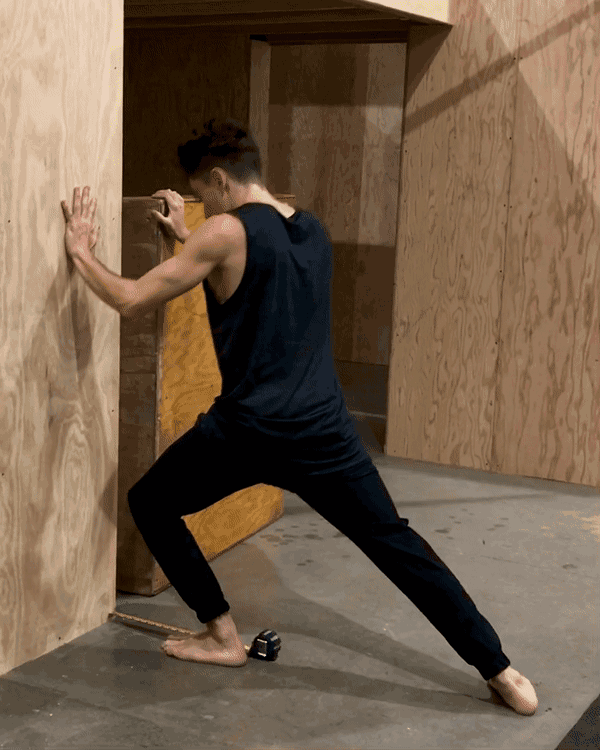
ft. Brandon Douglass
📍 Apex Louisville 2017
Want to learn more about sprinting, acceleration, & more plyometric movements to help boost your speed & power levels? Check out Parkour Strength Online, the 80/20 of what you should know about parkour strength & conditioning, in a new & improved digital format. Building upon our 15+ years of research & development across multiple parkour schools IRL & remote, this course will help you accelerate athletic development, mitigate injuries, & expand coaching skills.
Ryan Ford is founder of Apex School of Movement, director of Parkour Strength Online course, & author of Parkour Strength Training book.